Water Leak Detection Services in Rockledge After Hurricanes: Step-by-Step Process Explained
After a hurricane in Rockledge, the obvious damage gets all the attention: downed branches, soggy drywall, roof shingles playing hide-and-seek in the yard. But the most expensive problems often start quietly—a slow leak behind a wall, water creeping under flooring, or moisture sitting in an attic corner like it pays rent.
And here’s the Florida twist: even when the storm is gone, the humidity sticks around and turns “a little damp” into “why does my house smell like a wet sock?” real fast.
This guide breaks down how professional water leak detection works after hurricanes in Rockledge, what warning signs matter, and how to prevent moisture from turning into bigger issues—especially mold.
What a Post-Hurricane Water Leak Really Is
A “leak” after a hurricane isn’t always a pipe spraying water. In Rockledge homes, it’s often one of these:
- Roof seepage through lifted shingles, flashing, or vents
- Window/door intrusion from wind-driven rain
- Wall cavity moisture from tiny exterior gaps
- Slab or foundation moisture from flooding and saturated soil
- Plumbing stress leaks (loosened fittings, cracked supply lines, shifted pipes)
The tricky part? A lot of this water hides where you can’t see it. That’s why leak detection after hurricanes is less about guessing and more about finding the moisture pathway and the source.
Why This Happens So Often in Rockledge
Rockledge sits in that classic Brevard County zone where hurricanes and tropical storms bring:
- Wind-driven rain that gets into places normal rain can’t
- Power outages that reduce AC/dehumidification (hello, trapped humidity)
- Saturated ground that keeps crawl spaces and slabs damp
- Homes with attic ductwork exposed to high heat and humidity
- Older roofs or aging window seals that finally give up
And since Rockledge is close to coastal moisture patterns (similar to Cocoa Beach and Satellite Beach), drying times can be slower than people expect. If moisture lingers, secondary issues like mold become more likely—especially in insulation, drywall, and duct systems.
Warning Signs Homeowners Notice First
If your home took a hurricane hit—big or small—keep an eye out for these early clues:
- Musty smell that shows up after the AC kicks on
- Staining on ceilings or near windows
- Bubbling paint or soft drywall
- Warped baseboards or swelling around door frames
- Flooring changes (buckling, cupping, or soft spots)
- Higher indoor humidity even when the AC is running
A big one people ignore: a room that suddenly feels “sticky” or warmer than the rest. That can signal moisture trapped behind walls or above ceilings.
Hidden or Overlooked Sources After Hurricanes
Hurricanes create leaks in sneaky ways. Some of the most common hidden sources we find in Rockledge and nearby areas like Viera and Melbourne include:
- Roof flashing gaps around chimneys, skylights, and vent boots
- Soffit or fascia openings where wind pushes water upward
- Window track overflow during intense wind-driven rain
- Garage door side intrusion (water comes in, spreads under walls)
- HVAC closet moisture from poor drainage or condensate issues after power loss
- Attic insulation saturation that looks “fine” until you touch it
Sometimes the leak isn’t even active anymore—storm water got in once, soaked materials, and now it’s just sitting there.
Why DIY Leak Hunting Usually Fails
DIY has its place. But after hurricanes, moisture doesn’t follow simple rules. The common DIY problems:
- You only find what’s visible (and hurricanes love hidden damage)
- Fans dry the surface while moisture stays trapped deeper in materials
- You fix the symptom (a stain) without finding the entry point
- You miss secondary moisture sources (like duct sweating or AC drainage issues)
And no, “I don’t see water anymore” doesn’t mean “it’s dry.” Florida houses can hold moisture like a sponge—especially drywall and insulation.
Professional Moisture Inspection & Detection Explained
Professional leak detection after hurricanes is a systematic search, not a vibe.
A proper inspection usually includes:
- Visual checks of rooflines (from the ground and accessible areas)
- Targeted checks around windows/doors, baseboards, and ceiling penetrations
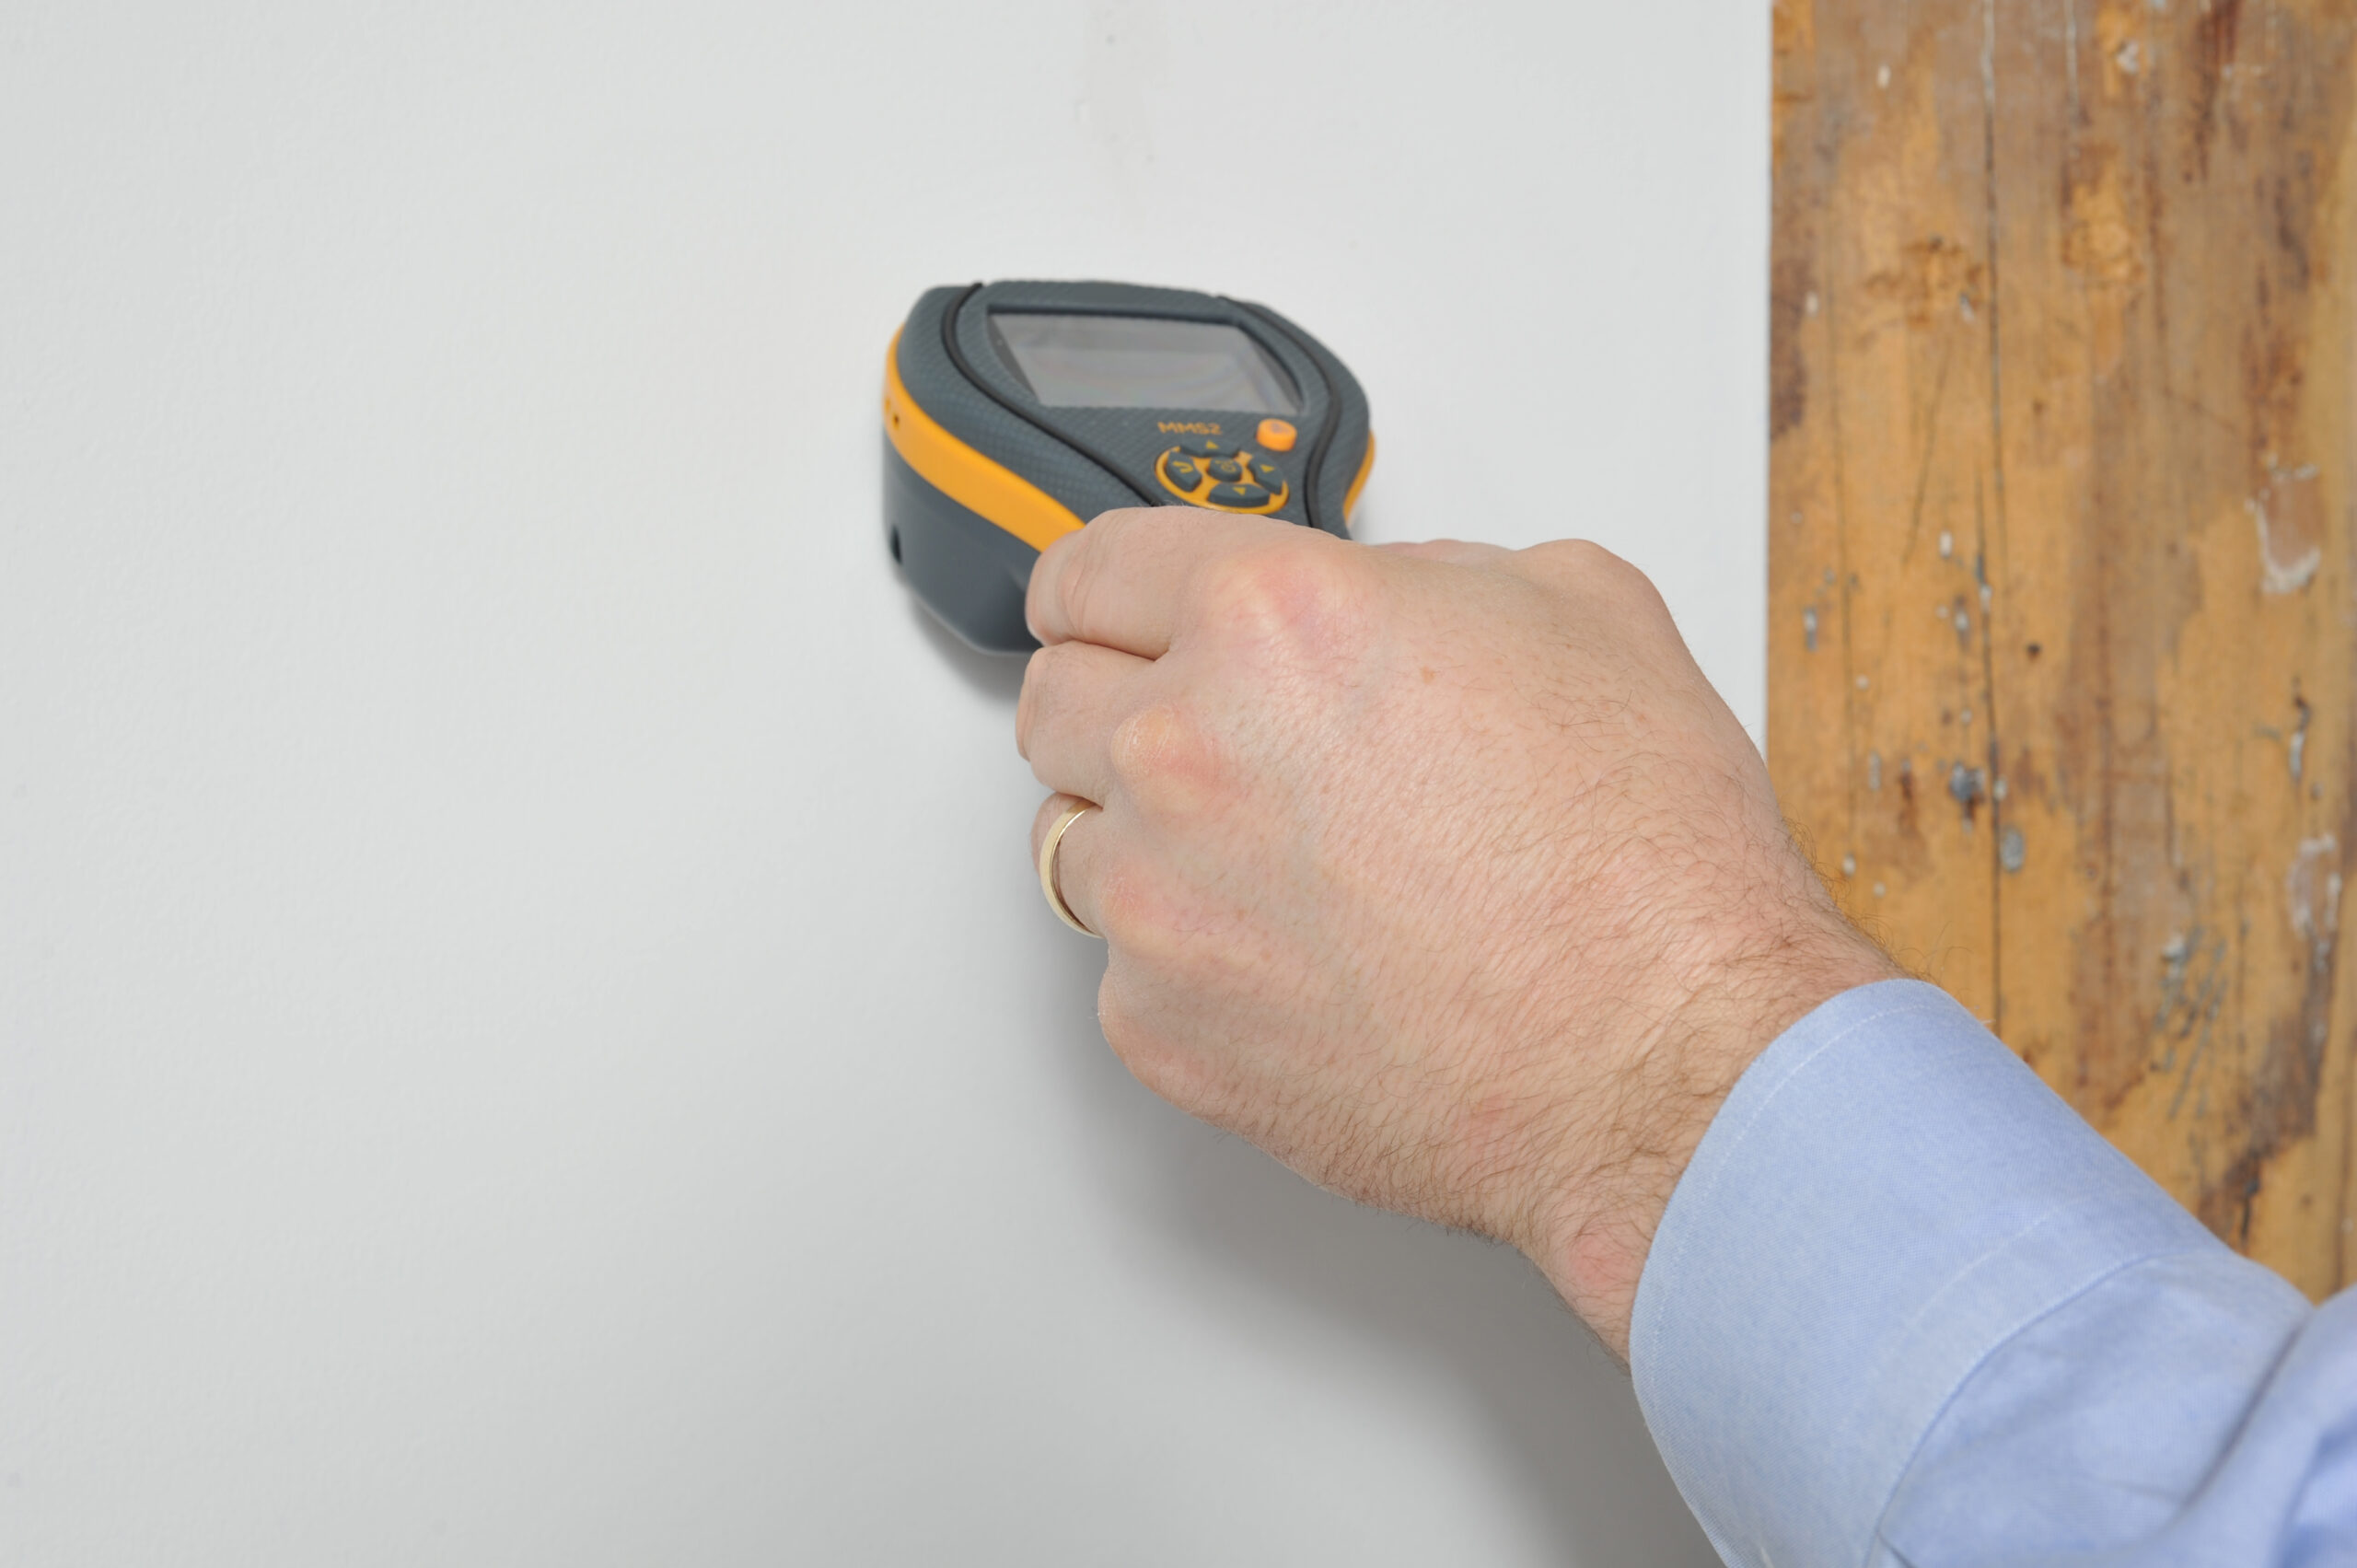
- Moisture meter mapping across walls, floors, and trim
- Thermal imaging to spot temperature differences caused by hidden moisture
- Attic checks for wet insulation, staining, and airflow problems
- HVAC and duct moisture checks when odors or humidity complaints show up
If you’re managing a rental property or a commercial space, this step-by-step documentation matters because it helps guide repairs and reduces “random patching” that doesn’t solve the root issue.
Step-by-Step Water Leak Detection Process After Hurricanes
Here’s what a real post-hurricane leak detection workflow looks like:
Step 1: Interview and Timeline
We start with basics that matter:
- When did the storm hit?
- Where did you first notice stains/odors?
- Was power out? For how long?
- Did you run AC/dehumidifiers right away?
This timeline helps narrow likely moisture pathways.
Step 2: Visual “Hot Spot” Sweep
We check the usual suspects:
- Ceiling corners, light fixtures, vents
- Window headers and sills
- Baseboards along exterior walls
- Flooring transitions and doorways
- Garage-adjacent walls
Step 3: Moisture Mapping
Moisture meters are used across suspected zones to build a map:
- What’s damp?
- How far does it spread?
- Is it isolated or moving?
This is where we separate “one-time intrusion” from “ongoing leak.”
Step 4: Thermal Imaging (Targeted)
Thermal imaging helps spot hidden moisture patterns, especially:
- Behind drywall
- Under flooring
- In ceilings below attic penetrations
- Along plumbing walls
It doesn’t replace moisture meters—it helps confirm where to test next.
Step 5: Attic and Roof Penetration Checks
After hurricanes, attics can be ground zero for moisture:
- Wet insulation (which holds moisture for days)
- Staining around vents and roof nails
- Poor ventilation that slows drying
- Duct sweating after power restoration
Step 6: Plumbing System Screening
Storm movement and pressure changes can trigger plumbing issues:
- Loose fittings under sinks
- Micro-leaks at supply valves
- Water heater connections
- Washing machine lines
If the home flooded, we also check for moisture wicking up walls.
Step 7: HVAC and Duct Moisture Review
If the home smells musty when the AC runs, we check:
- Air handler compartments
- Drain pan and condensate line function
- Duct insulation dampness in attic runs
- Return cavities that may have pulled in humid air
This matters because HVAC can spread odors and moisture symptoms through multiple rooms.
Step 8: Clear Findings and Repair Targets
At the end, you should have:
- The likely entry point/source
- The moisture-affected material zones
- What must be dried, removed, or repaired
- Prevention steps to avoid repeat issues
This is where good detection saves money—because repairs become precise, not random.
Water Damage Repair & Restoration After a Hurricane
Once the leak is found, restoration becomes the priority. Depending on severity, this may involve:
- Water extraction (if pooling occurred)
- Dehumidification and airflow setup
- Moisture monitoring (so you don’t stop drying too early)
- Selective removal of wet drywall/insulation when needed
- Cleaning and treating affected structural areas
If materials stayed wet for more than a day or two, a mold-focused plan may be recommended—because wet drywall and insulation are basically an open invitation for microbial growth in Florida.
Air Ducts, AC Systems, and Hurricane Moisture
After hurricanes, AC systems often work overtime—and sometimes they do it while the house is still damp. That can trigger:
- Condensation buildup
- Damp duct insulation
- Mold-like odors from moisture sitting in return cavities
- Dirty coils that hold moisture longer
If you’re in Rockledge, Cocoa Beach, or Satellite Beach, humid air plus attic ductwork is a common combo. Sometimes the “leak” homeowners suspect is actually duct sweating from insulation issues or airflow restriction.
Leak detection should include HVAC checks when symptoms point that way.
Prevention: How to Reduce Leak Risk Next Hurricane
You can’t stop hurricanes (if you figure that out, please tell the rest of us), but you can reduce damage risk.
Smart prevention steps:
- Inspect roof flashing and vent boots annually
- Seal and maintain window/door weatherstripping
- Keep gutters and downspouts clear to prevent overflow intrusion
- Install or test attic ventilation to reduce trapped heat/moisture
- Use leak detectors under sinks, near water heaters, and laundry areas
- After storms, run dehumidifiers early—even if surfaces “look fine”
- Don’t ignore small stains; track them and recheck moisture
And if power was out for a while, assume indoor humidity climbed—drying the home quickly after restoration matters.
Why Local Experience Matters
Post-hurricane moisture isn’t theoretical in Brevard County—it’s a routine reality. Rockledge homes, especially those near older construction patterns or with attic ductwork, can hold hidden moisture long after a storm.
Local experience means understanding:
- How wind-driven rain enters common Florida roof and window weak points
- How humidity slows drying timelines
- Which areas typically trap moisture (attics, exterior walls, slab edges)
- How HVAC systems behave after outages and moisture events
Palm Bay Mold Removal works throughout Rockledge, Palm Bay, Melbourne, Viera, and nearby communities, and that hands-on local pattern recognition helps pinpoint leaks faster and prevent repeat damage without turning the process into guesswork.
A Calm, Trust-Based Next Step
If your Rockledge home had hurricane exposure—roof damage, water intrusion, damp smells, staining, or even just “something feels off”—leak detection is a practical first move. It gives you clarity, identifies what actually needs repair, and helps prevent moisture from quietly causing bigger problems down the line.
No drama. No panic. Just a clean step-by-step approach: find the source, map the moisture, dry properly, and prevent it from coming back.