Moisture Detection Services in Satellite Beach After Roof Leaks: Step-by-Step Process Explained
Roof leaks in Satellite Beach don’t always show up as a dramatic drip-drip-drip into a bucket. Sometimes it’s just a faint stain that “wasn’t there last week,” a musty smell that comes and goes, or drywall that feels a little soft near a corner. Coastal homes deal with wind-driven rain, salty air, and humidity that makes drying slower—so when water gets in, it can travel and hang around longer than you’d expect.
That’s exactly why moisture detection services matter after a roof leak. Not because we love fancy tools (okay, we do), but because your ceiling stain is rarely the whole story. Moisture detection is how you figure out where water actually went, what’s still wet, and what needs repair—before it turns into recurring damage or mold problems.
What Moisture Detection Is (After a Roof Leak)
Moisture detection is a targeted inspection that finds hidden water and elevated moisture levels inside building materials. After a roof leak, that usually means checking:
- Ceiling drywall and texture
- Attic insulation and roof decking
- Wall cavities below the leak path
- Framing (trusses/rafters/joists)
- HVAC ducts and air handler areas in the attic
- Flooring edges and baseboards in rooms below
The goal is simple: confirm what’s wet, how wet it is, and whether it’s drying properly—so repairs aren’t just cosmetic.
Why Roof Leaks Are Extra Tricky in Satellite Beach
Coastal conditions change the game. In Satellite Beach (and nearby Cocoa Beach, Melbourne, Merritt Island, and Rockledge), roof leaks often become bigger problems because:
- Wind-driven rain forces water into tiny openings around flashing, vents, and roof transitions.
- Humidity slows evaporation, so “it’ll dry on its own” becomes “it’s still damp next week.”
- Salt air accelerates wear on roof hardware, fasteners, and metal components.
- Many homes have attic ductwork, and wet insulation + cool ducts = a condensation party nobody asked for.
So even if the leak “stopped,” the moisture it left behind may still be present.
Warning Signs That Usually Mean Moisture Is Still There
If you’re seeing any of these after a roof leak, moisture detection is worth doing sooner rather than later:
- Yellow/brown ceiling stains that grow or reappear after rain
- Peeling paint, bubbling texture, or drywall that feels spongy
- Musty odors that get stronger after the AC runs
- Slight sagging in ceiling drywall
- Warping at baseboards or window trim in rooms below
- Condensation at vents, or a “damp air” feeling in one room
None of these automatically mean “big disaster.” They just mean: don’t guess—measure.
Step-by-Step Moisture Detection Process After Roof Leaks
Here’s what a thorough, professional moisture detection service typically looks like in a Satellite Beach home.
Step 1: Quick Timeline + Leak History (Yes, This Matters)
Before tools come out, the inspector will ask a few practical questions:
- When did you first notice the leak or stain?
- Was it during a specific storm or ongoing?
- Has the roof been repaired yet?
- Which rooms showed stains, odors, or bubbling?
- Any recent AC drain clogs or plumbing issues (sometimes it’s not the roof)
This helps narrow down whether you’re dealing with a one-time intrusion, recurring water entry, or multiple moisture sources.
Step 2: Visual Survey of Interior Damage
Next comes a systematic walkthrough to identify:
- Staining patterns (rings, streaks, edge staining)
- Drywall soft spots
- Cracks along seams that suggest saturation
- Baseboards swelling (water can travel down wall cavities)
- Any signs of previous patchwork or repainting over stains
A good inspector doesn’t just look at the “worst spot.” They look at the path moisture likely took.
Step 3: Attic Inspection (The Real Story Usually Lives Up Here)
For roof leaks, the attic is often where the answers are hiding.
The inspection typically includes:
- Checking roof decking for darkening, dampness, or delamination
- Looking at insulation for wet clumps or compressed areas
- Inspecting trusses/rafters for moisture staining
- Examining roof penetrations: vents, pipe boots, skylights, chimneys (if present)
- Scanning for daylight gaps or wind-driven entry points
In Satellite Beach, attic ventilation also gets attention—because poor airflow can keep things damp long after the leak event.
Step 4: Moisture Meter Readings (Not Guesswork)
Moisture meters are used on:
- Ceiling drywall around stains (and beyond them)
- Adjacent wall sections
- Trim/baseboards
- Sometimes flooring edges if water traveled downward
This step matters because moisture spreads—so the “wet zone” is often larger than what you can see. Measurements help confirm boundaries for drying, repairs, and (if needed) removal of damaged materials.
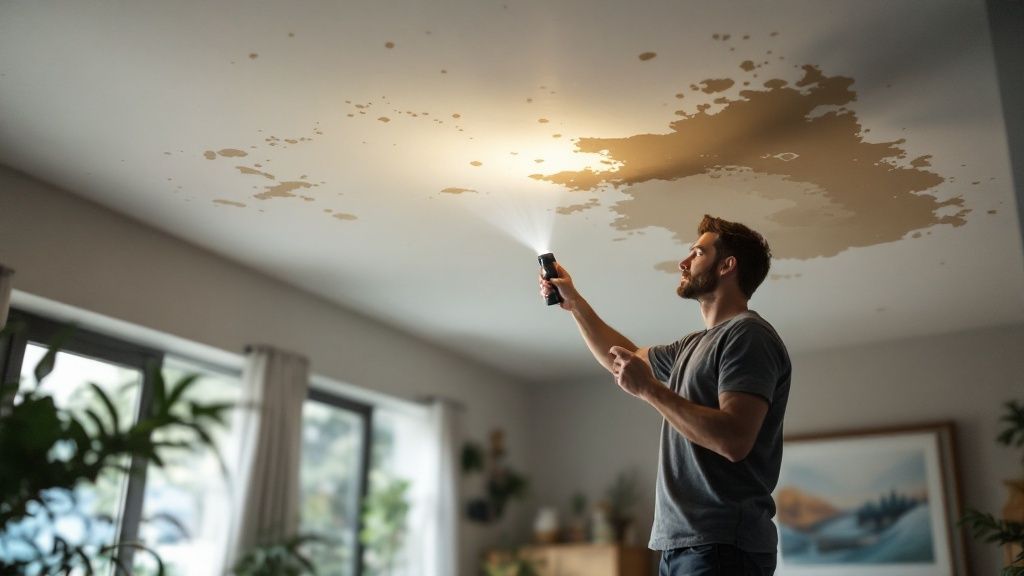
Step 5: Infrared (Thermal) Scanning to Find Hidden Wet Areas
Infrared scanning helps identify temperature differences that can indicate moisture behind surfaces. It’s especially useful for:
- Finding wet insulation pockets
- Tracing water migration across ceilings
- Spotting damp wall cavities below roof entry points
Important note: infrared suggests where to test, but meters confirm what’s wet. The best inspections use both.
Step 6: Humidity and Airflow Checks (Because Florida)
After roof leaks, indoor humidity can stay elevated—especially if insulation is wet or the attic is trapping moisture.
A proper check includes:
- Indoor relative humidity readings
- Attic humidity comparison (often higher)
- Ventilation review (bath fans venting properly? attic vents clear?)
- AC performance clues (short cycling, poor dehumidification)
This is where moisture detection overlaps with broader home maintenance—because preventing repeat issues often means fixing airflow and humidity control, not just patching drywall.
Step 7: HVAC and Ductwork Check (The Overlooked Culprit)
If ducts run through the attic, inspectors often check:
- Duct insulation integrity (wet insulation loses effectiveness)
- Condensation at supply boots/vents
- Air handler area for dampness
- Drain pan and drain line function
Roof leaks can drip onto ducts, or wet insulation can keep ducts damp. Either way, damp duct systems can contribute to musty odors and indoor moisture imbalance—so this step is a big deal.
Step 8: Identify the Repair Scope (Roof + Interior + Moisture Control)
After mapping moisture, a clear plan should be outlined. This usually breaks into three parts:
A) Stop the water entry
- Roof repair: flashing, vent boots, shingle replacement, seal failures, etc.
B) Dry the structure
- Targeted drying with air movers/dehumidification when needed
- Monitoring moisture levels until they return to normal ranges
C) Repair/restore affected materials
- Drywall replacement where saturated
- Insulation removal/replacement if wet
- Baseboard/trim repair if swelling occurred
- Painting only after moisture is resolved (no stain-cover band-aids)
In many cases, the “right” repair is smaller than homeowners fear—because accurate moisture mapping prevents unnecessary demolition.
Step 9: Mold Inspection and Remediation (Only If Needed)
Not every roof leak turns into mold. But if moisture sat long enough (or humidity stayed high), mold inspection and remediation might be recommended—especially in insulation, drywall paper backing, or attic wood surfaces.
If remediation is needed, it should be done calmly and properly:
- Address the moisture source first
- Contain affected areas if disturbance is required
- Remove unsalvageable materials
- Clean/treat remaining surfaces
- Verify dryness before rebuild
This is the kind of combined approach a local team like Palm Bay Mold Removal typically coordinates when a roof leak leads to moisture issues that cross into mold inspection, mold testing, and remediation (without turning it into a dramatic sales pitch).
Prevention Tips for Satellite Beach Roof-Leak Moisture Problems
You can’t control storm season, but you can reduce the odds of repeat moisture issues:
- Inspect roof penetrations yearly (vents, boots, flashing)
- Keep gutters/downspouts clear and draining away from the home
- Make sure attic ventilation is functioning (intake + exhaust)
- Replace wet insulation promptly—wet insulation is basically a moisture blanket
- Service AC drain lines to prevent backup and extra humidity
- After heavy storms, do a quick ceiling/attic check even if no drip is visible
And if you ever catch a stain early, moisture detection is the move. It’s cheaper than guessing and repainting the same spot three times.
Why Local Experience Matters
Satellite Beach homes see moisture behavior that’s different from inland properties. Wind-driven rain, salt air wear, and humidity-heavy drying conditions mean moisture can travel farther and dry slower. A local restoration pro who works around Satellite Beach, Rockledge, Melbourne, and Merritt Island will know where leaks typically enter and how moisture typically migrates in coastal attic setups.
A Calm Next Step
If your roof leak is recent, moisture detection helps confirm you’re actually dry—not just “looks dry.” If it’s older or recurring, moisture detection helps pinpoint the real source and the true repair scope, so you’re not stuck in the loop of stain-cover paint and “maybe it’s fine.”
When you’re ready, a professional inspection + moisture mapping gives you a clear path: stop the leak, dry the structure, repair correctly, and prevent the next round.